Nhu Pham Art – Inspired by Life’s Whimsical Charm
blog
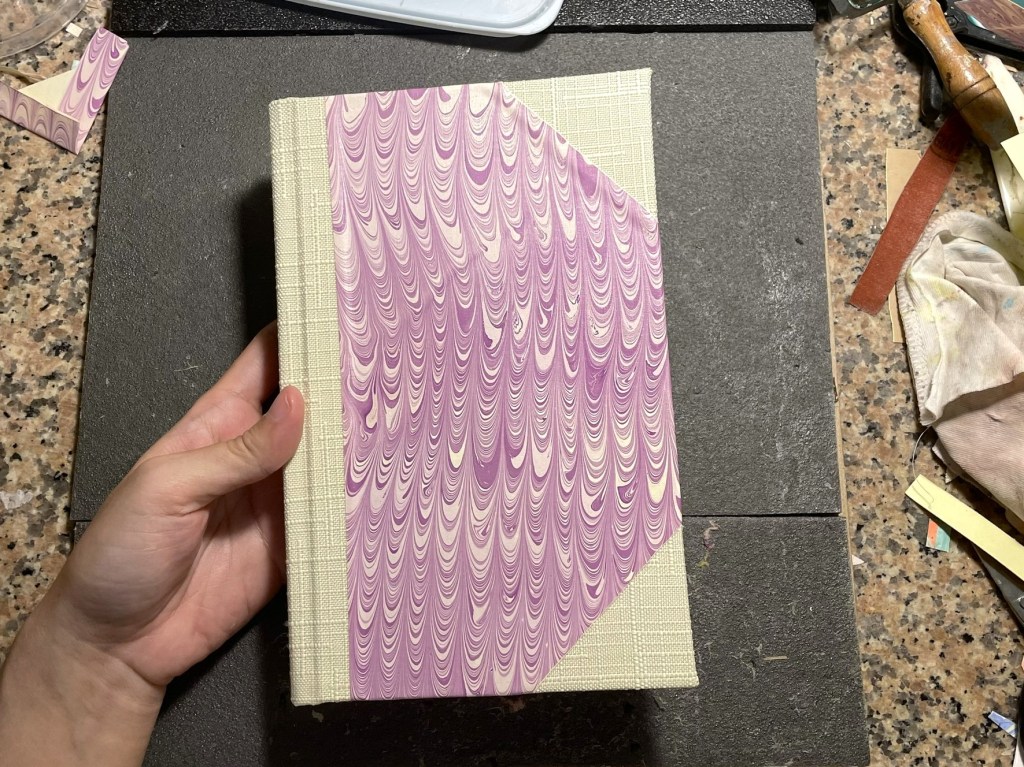
Discreet Reading on the Go: Marbled Slip-on Bookcover
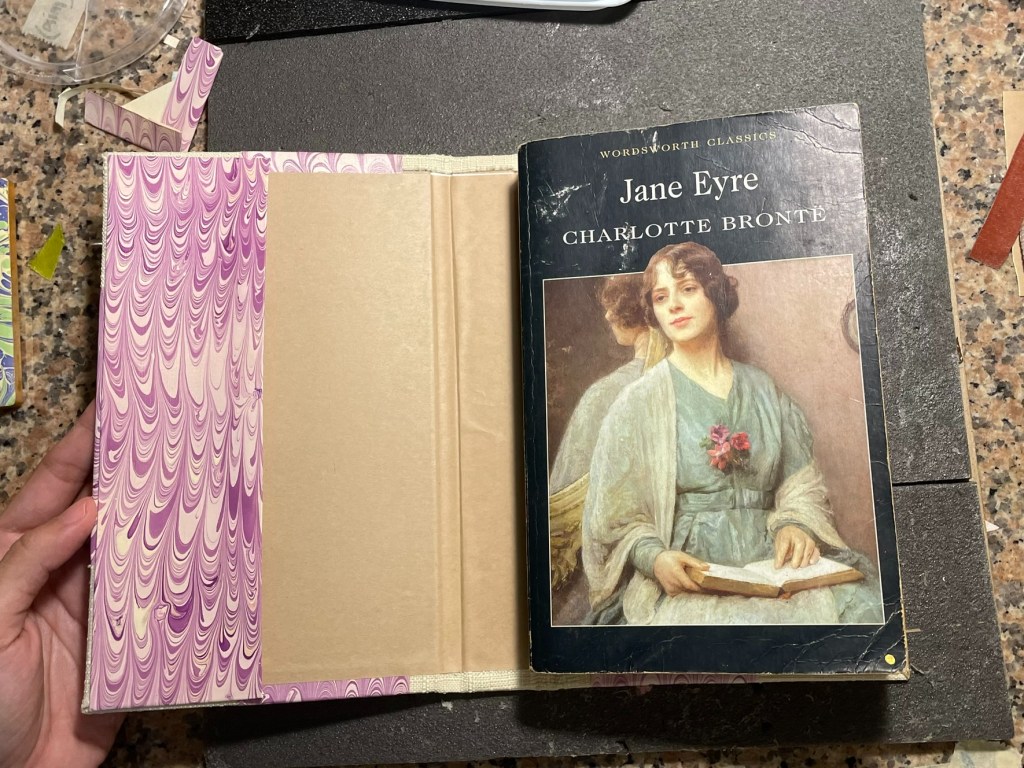
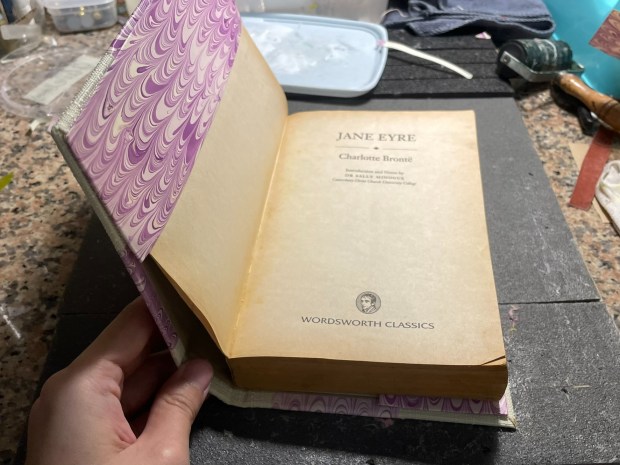
While I’m not an avid reader, when I do pick up a book, I prefer to keep the title a secret in public. To add a touch of elegance and mystery, I decided to create a charming solution: a slip-on hardcover book sleeve that hides the title while preserving the beauty of the original cover. Using chipboard, fabric, and my own hand-marbled paper, I crafted a classic style and practical accessory. Follow along as I share step-by-step images, essential tools, and detailed dimensions. Join me in crafting something beautiful!

hardcover book sleeve, secret in public, elegance and mystery, preserving the original cover
Materials Needed:
To get started with the slip-on book cover, I used the following materials:
- A book for reference dimensions
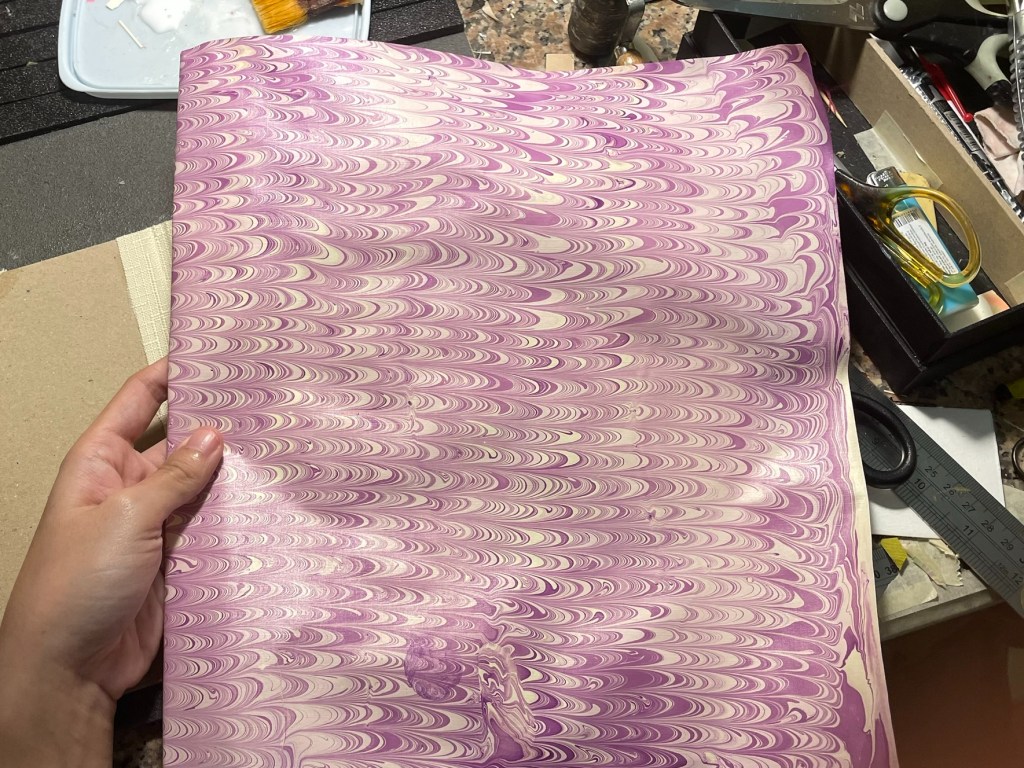
- Decorative papers (I used my hand-marbled paper)
- Chipboards (I used 2mm thickness)
- Non-stretch Linen/Cotton Fabric (I used textured linen)
- Cardstocks
- PVA Glue with applying brush
- Fabric backing (I used self-adhesive kraft paper)
- Folding tool (I used a bone folder)
- Iron
- Scissors
- Craft Knife
- Ruler
- Pencil
- Optional: Heat gun or hair dryer to speed up glue drying and some great background music for inspiration.
My step-by-step:
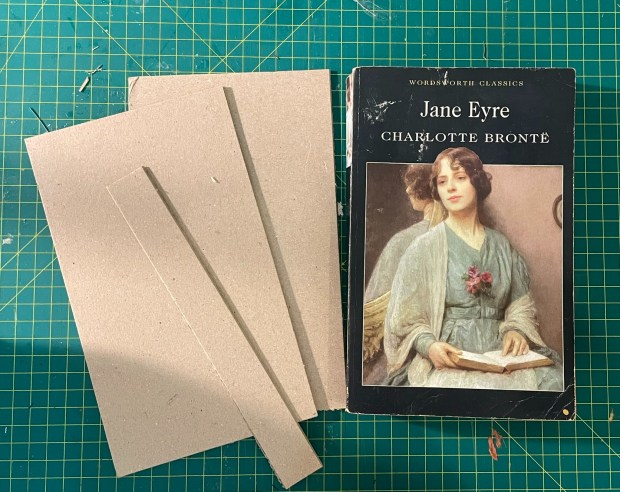
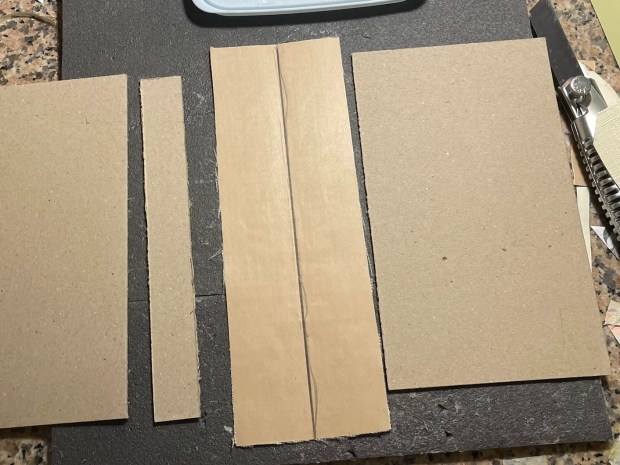
One: Measure and Cut the Chipboard
See Steps …
- Measure the dimensions of your book’s cover.
- With a sharp craft knife, cut two pieces of chipboard to these dimensions, plus an additional 0,5cm on each width side.
- Measure the dimensions of your book’s spine.
- Cut one more piece of chipboard to these dimensions, plus an additional 0,5cm on each width side.

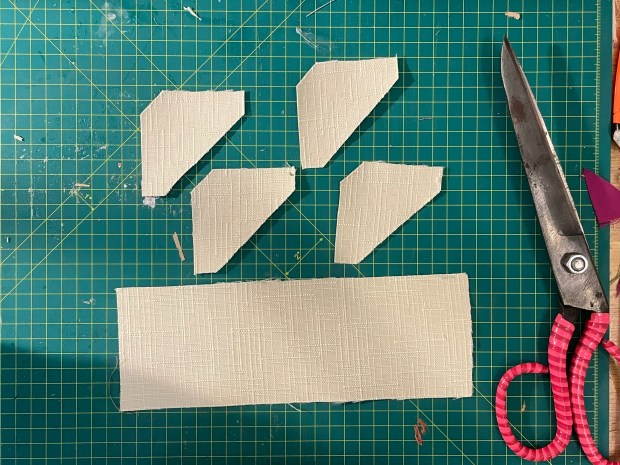
Two: Prepare the Fabric
See Steps …
- Cut a piece of fabric backing (here I used self-adhesive kraft paper) that is 3cm larger than the spine chipboard on each length side and 1,5cm larger on each width side.
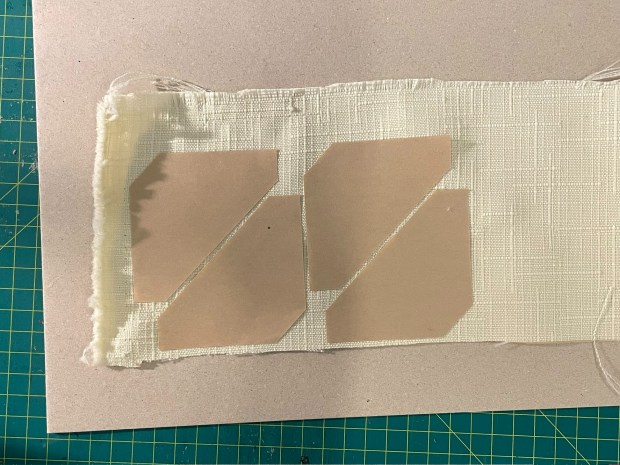
- Cut another 4 pieces of fabric backing that are triangle-like and cover 5,5cm of the chipboard corners, with an additional 1.5 cm extending on each equal side as shown in the images below.
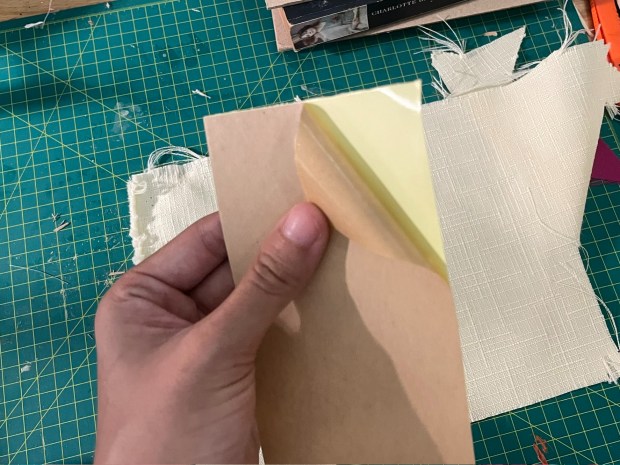
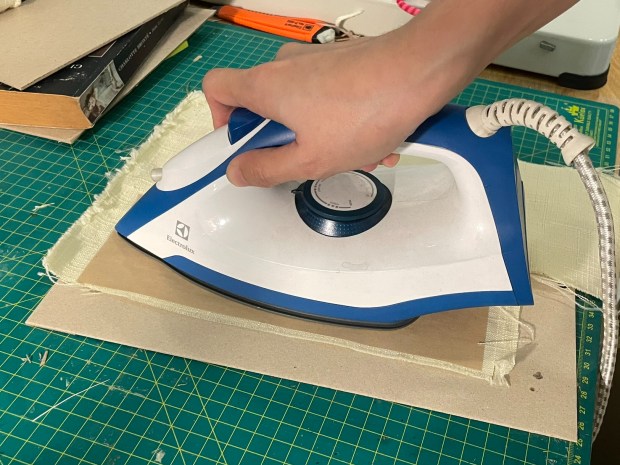
- Iron the adhesive side of the fabric backing onto the wrong side of the fabric for the bonding to be stronger.
- Doing this will stabilize the fabric, making it easier to work with and allowing me to wrap it around the edges of the chipboard later.
- Once the fabric and backing are securely bonded, cut the fabric to match the dimensions of the backing.


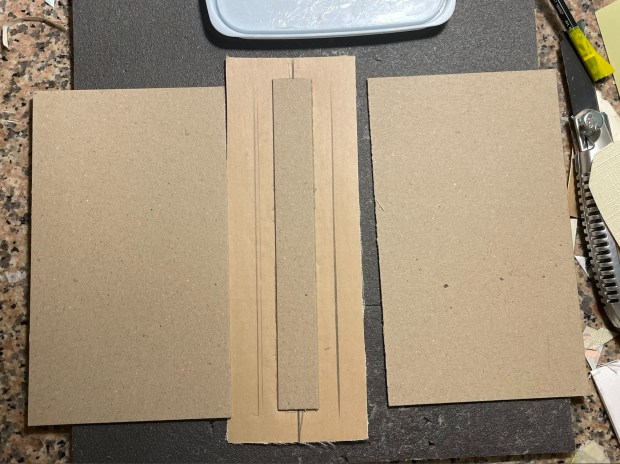
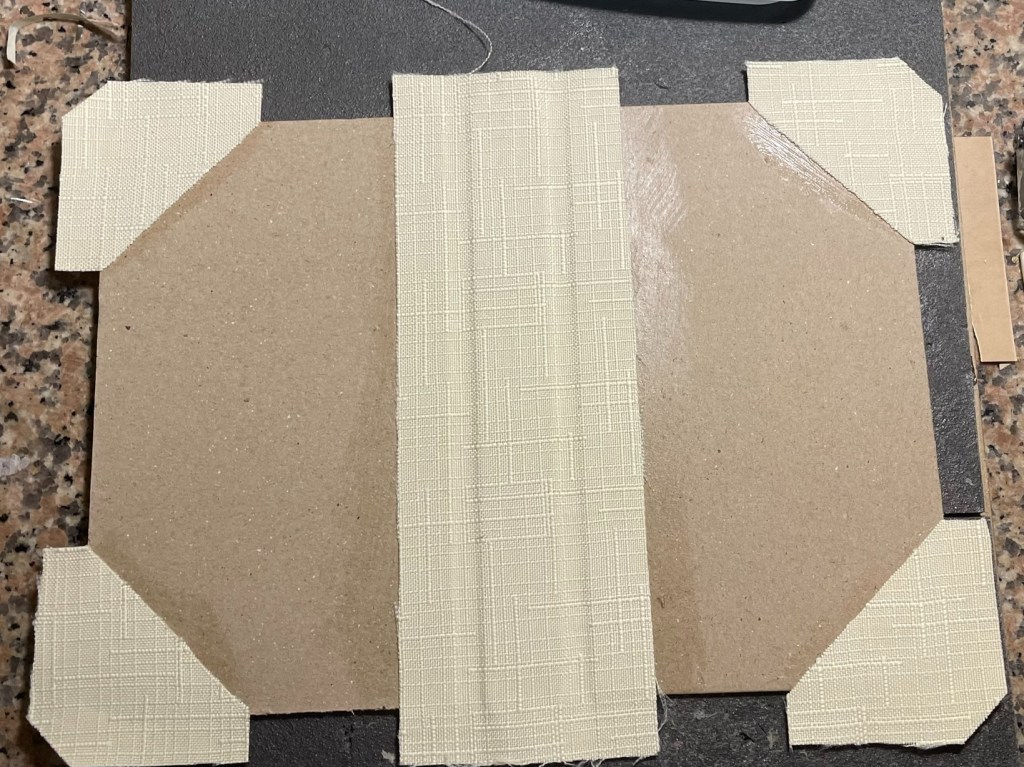
Three: Attach the Fabric to the Chipboard
See Steps …
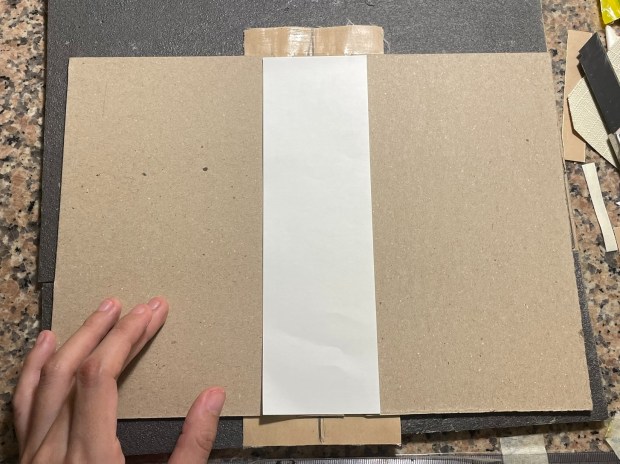
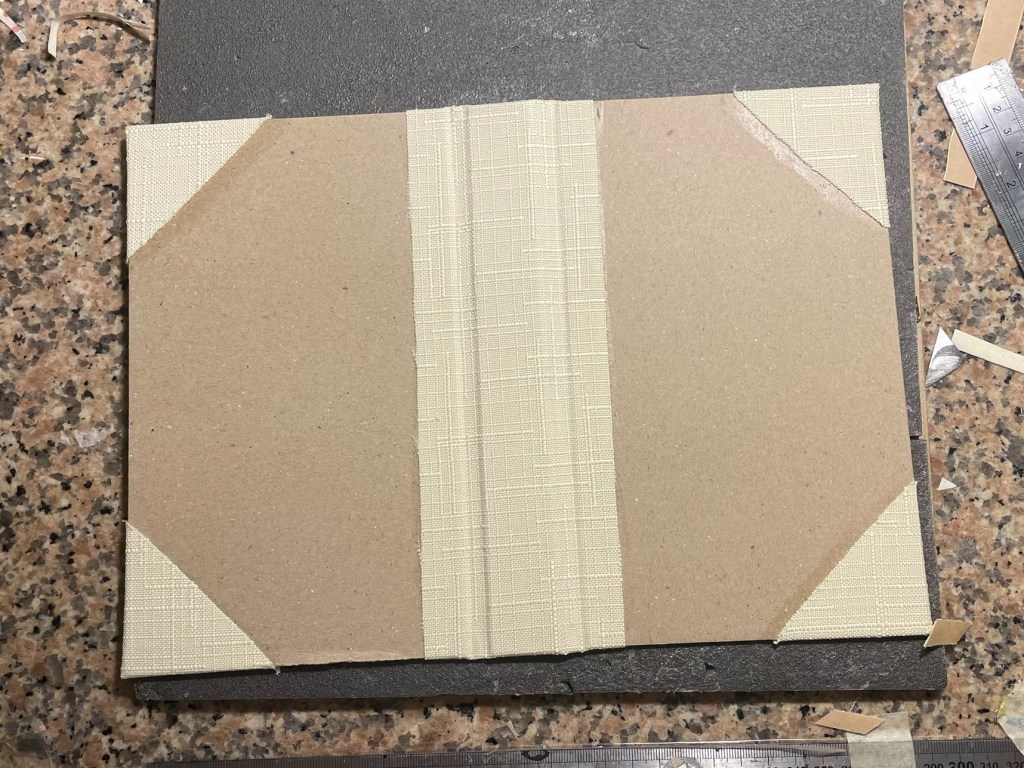
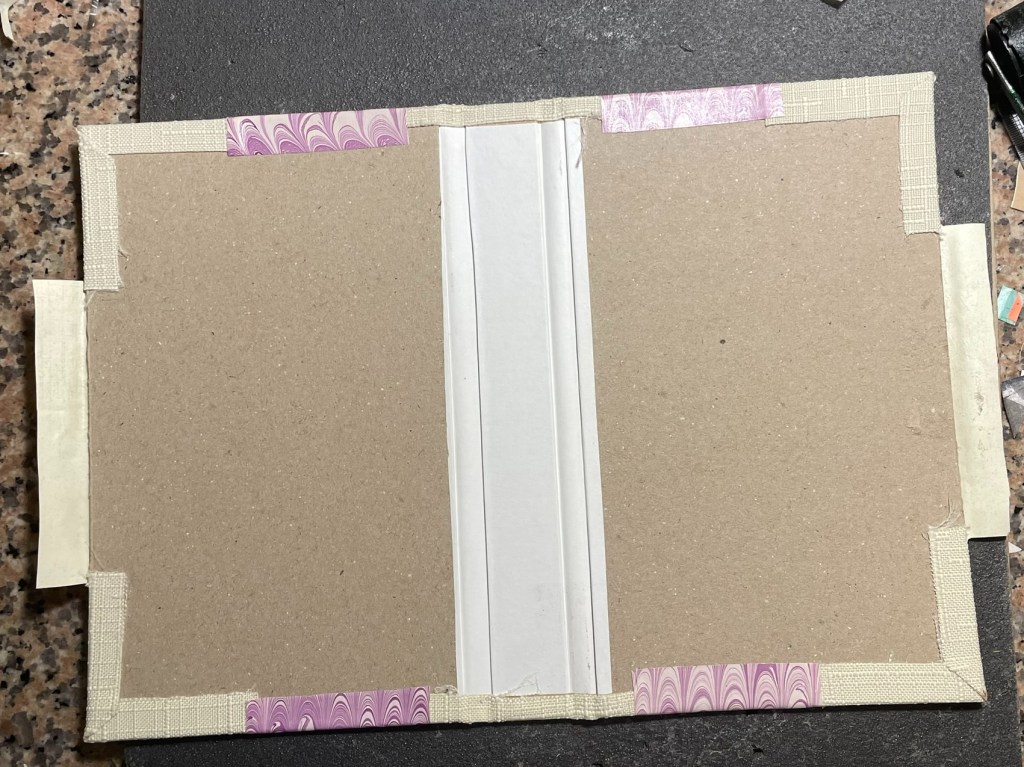
- Use a pencil to mark the centre line of the spine fabric.
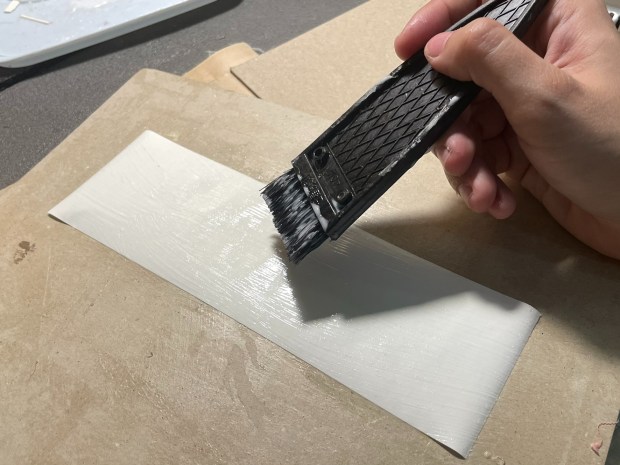
- Apply PVA glue all over the spine chipboard, align and place it onto that centre line. Press firmly and smooth out any wrinkles.
- Apply glue on one long edge of each cover chipboard, aligning and ensuring they are positioned 1 cm away from the long edges of the spine chipboard
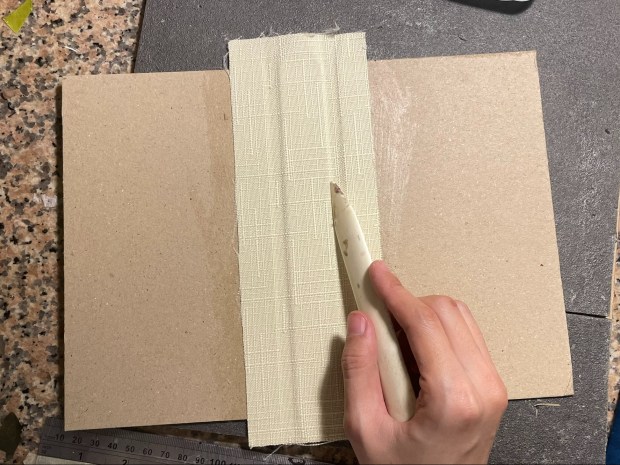
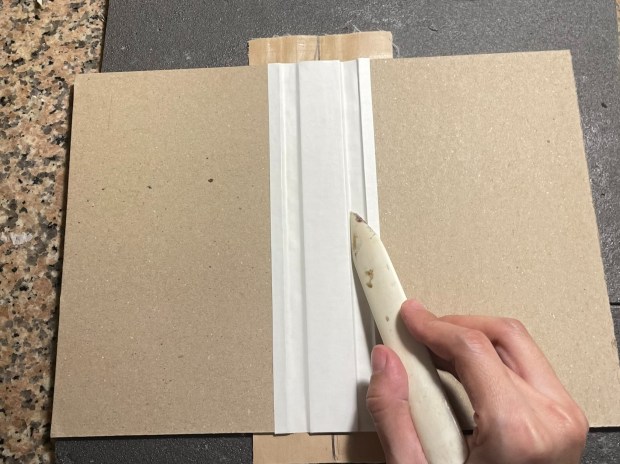
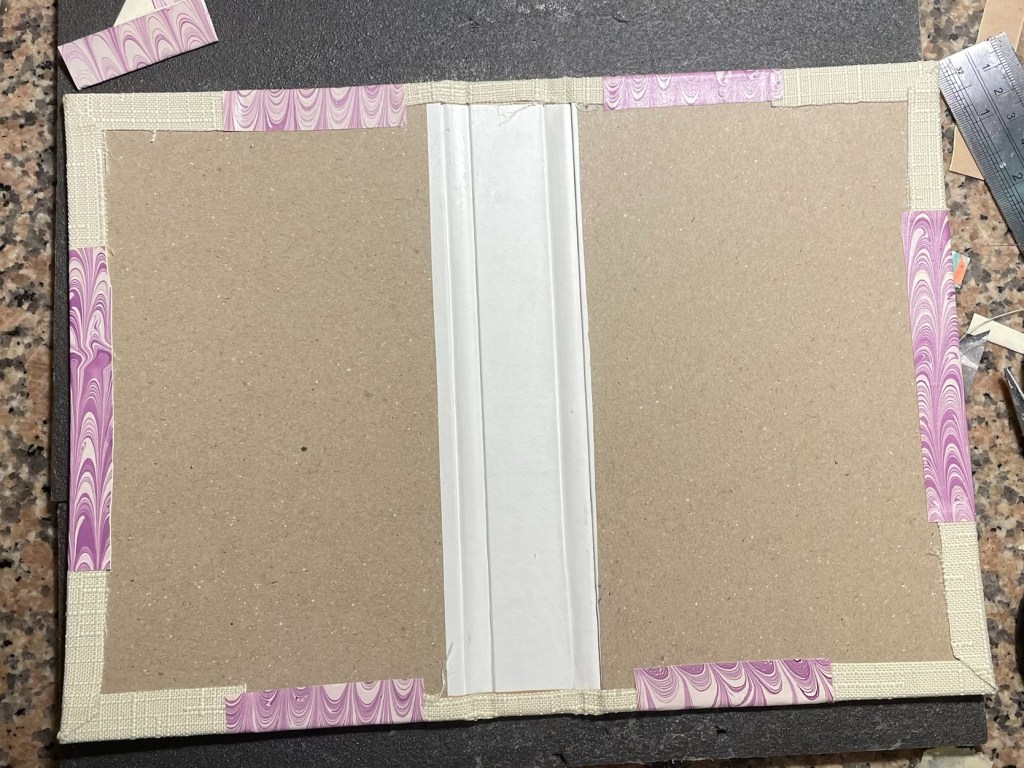
- To achieve a more defined-looking spine, I cut a piece of leftover paper to match the length of the spine and a width that extends to touch both cover chipboards. Glue it onto the centre of the spine. Using a bone folder carefully create ceases along each edge of the chipboard.
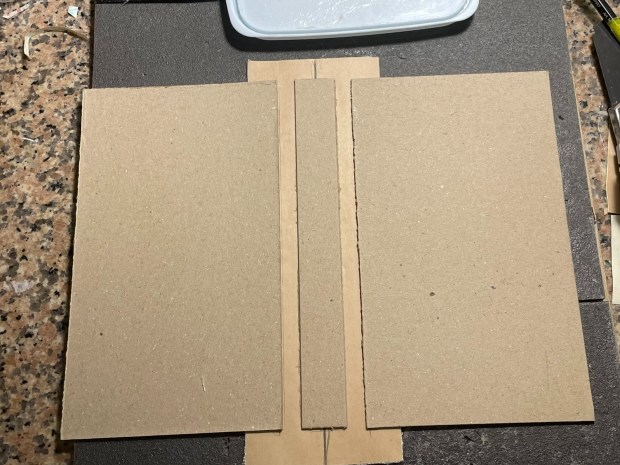
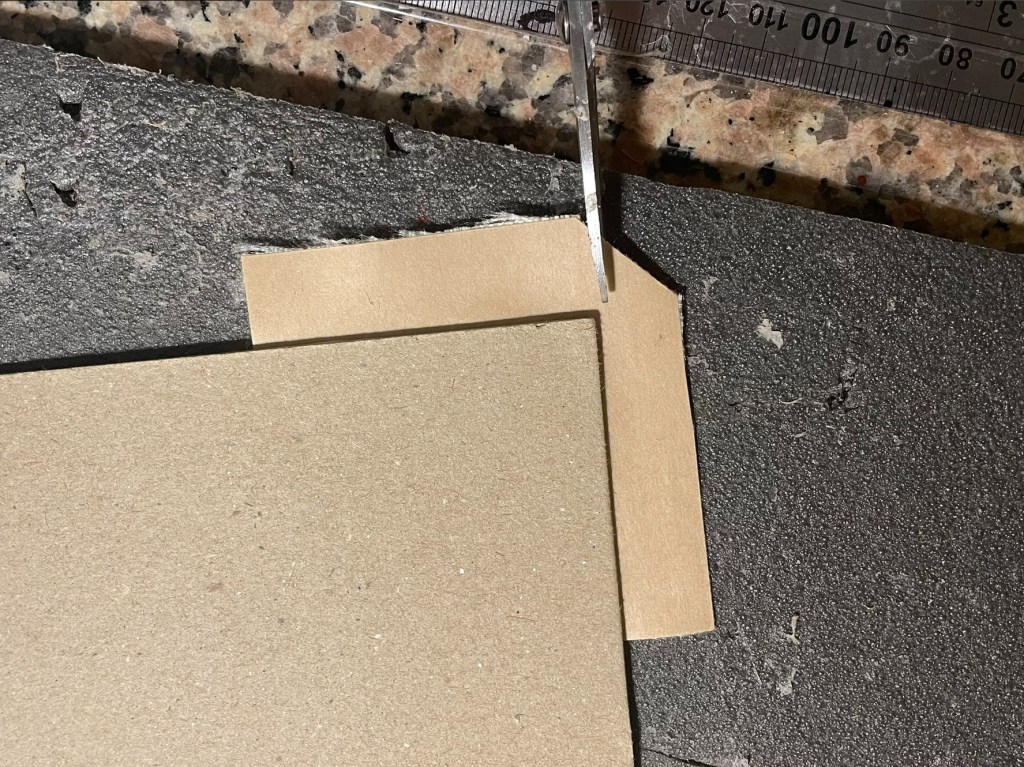
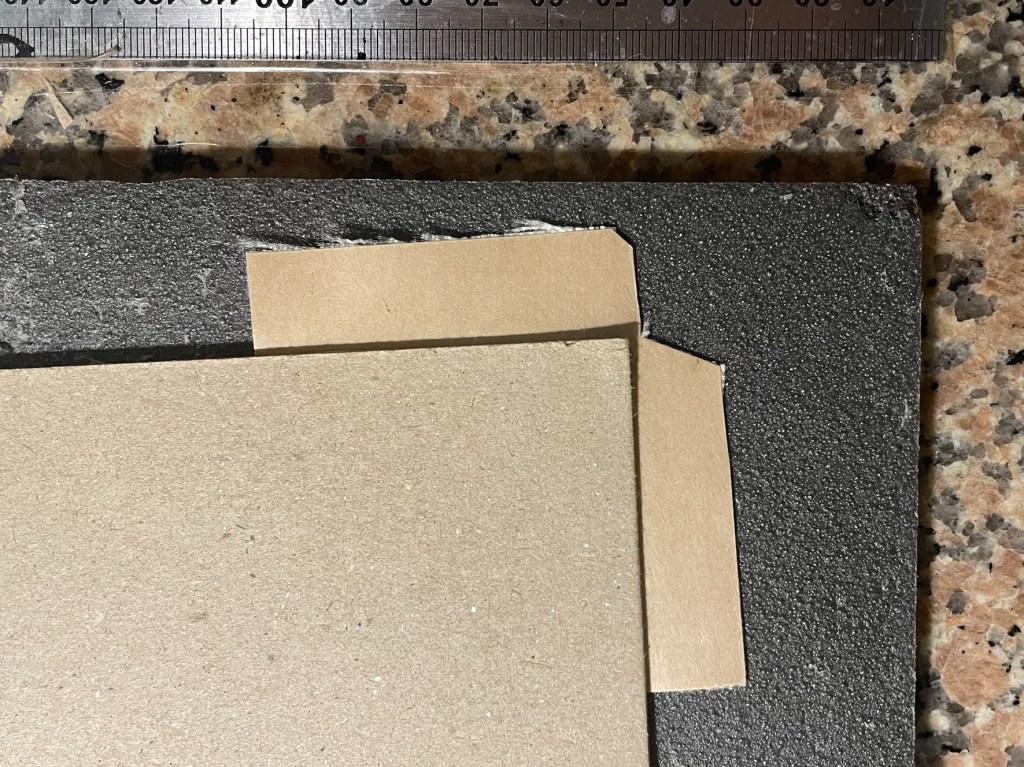
See Continuing Steps …
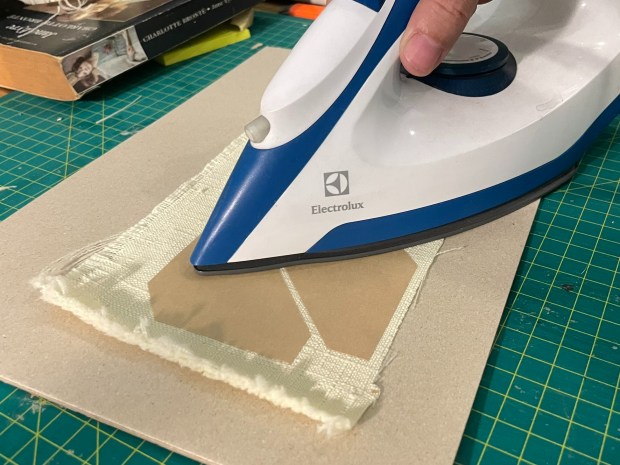
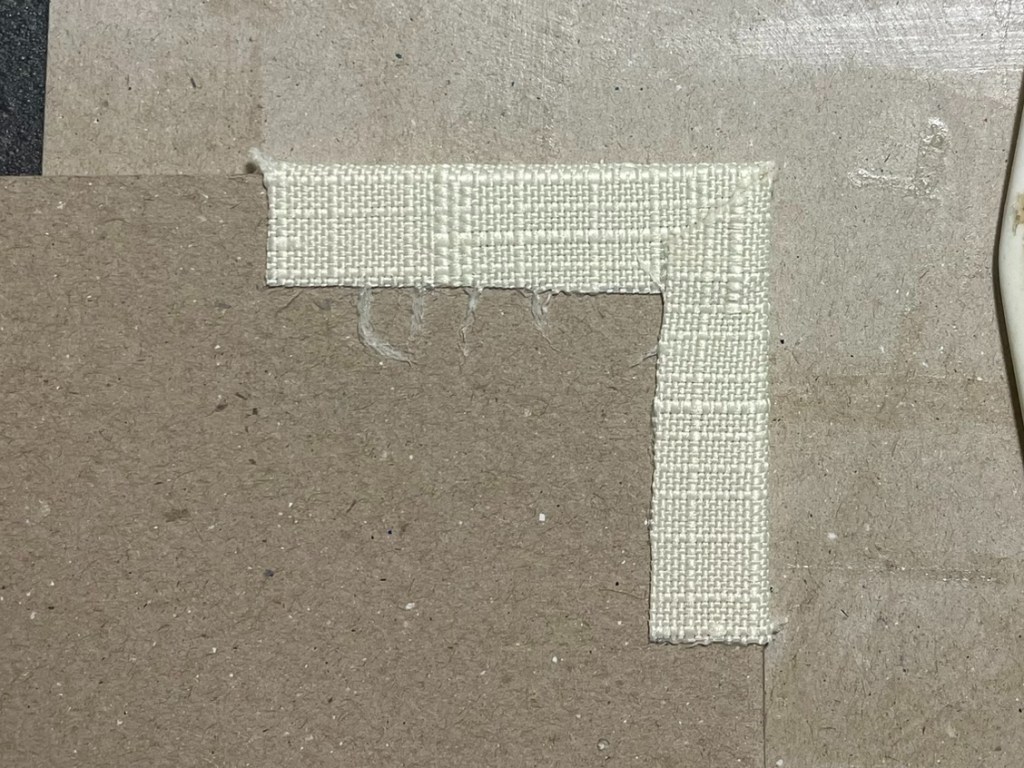
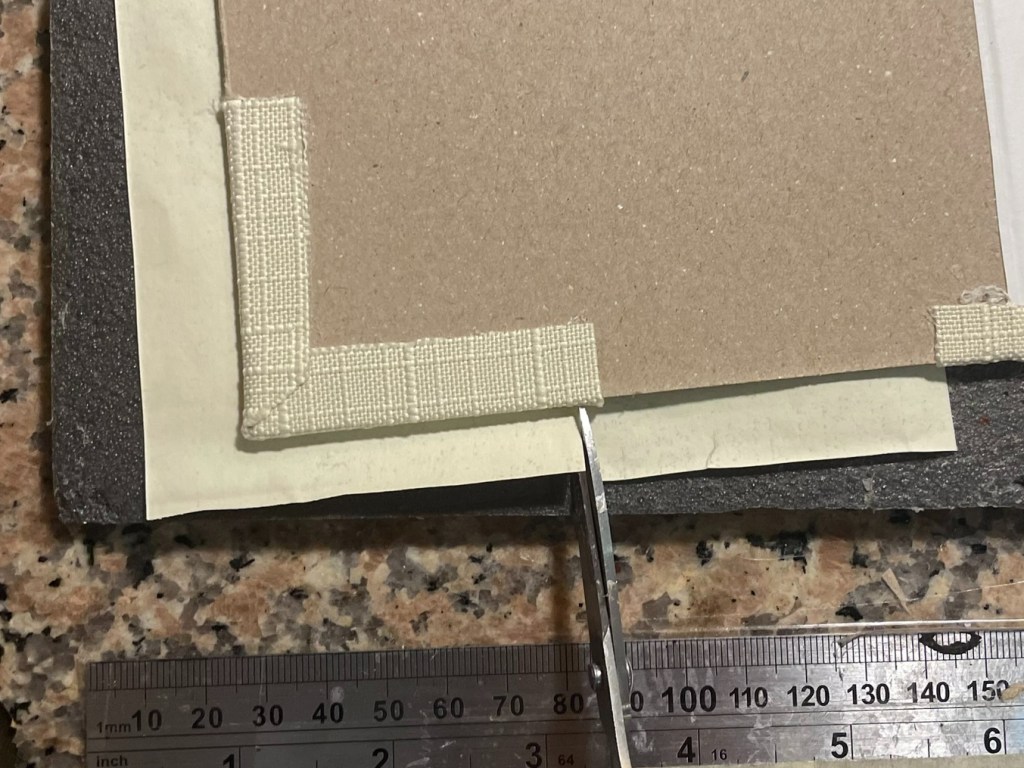
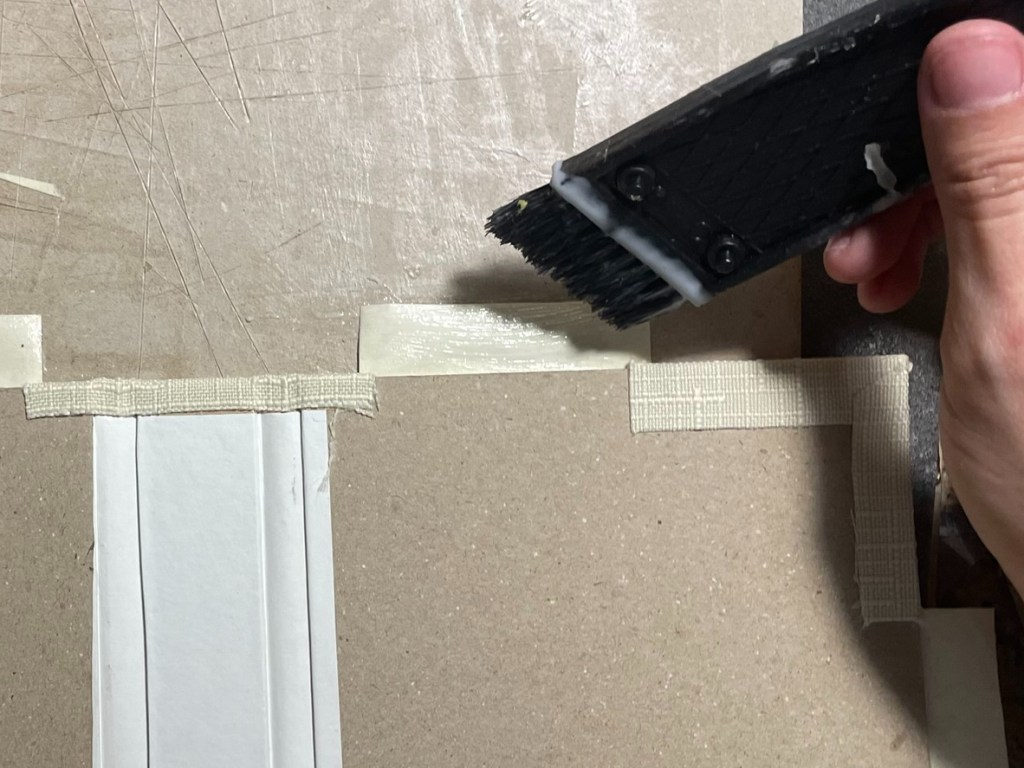
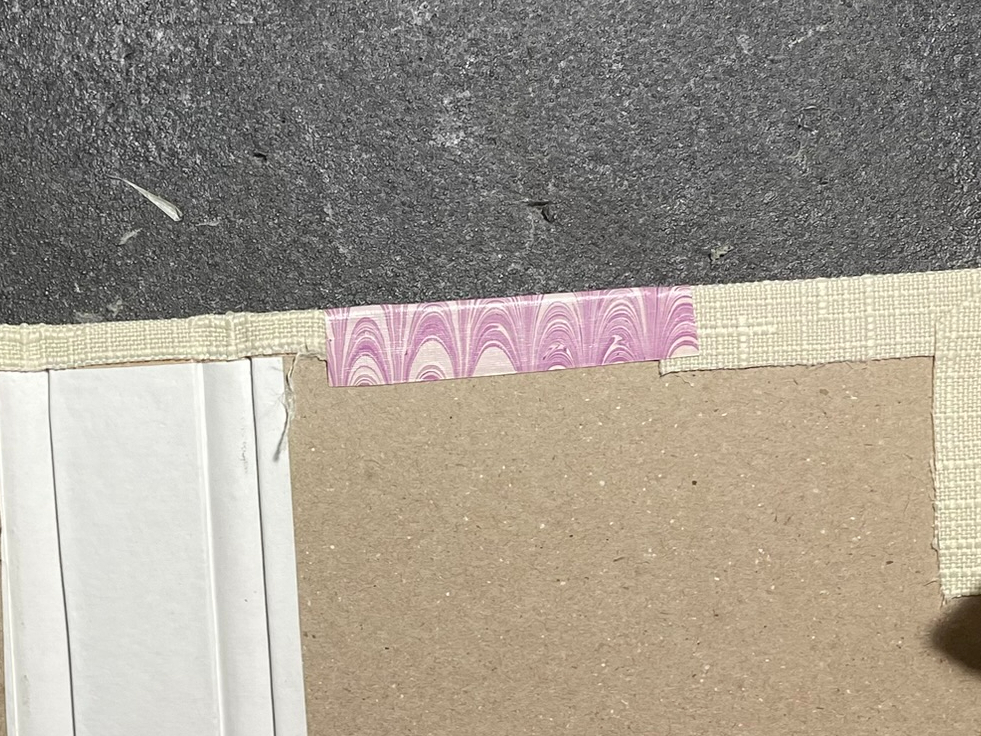
- To continue, apply glue to the outer top and bottom corners of both cover chipboards. Align and place the four remaining fabric pieces onto the glued corners.
- Trim small pieces from the four corner fabrics to avoid a lumpy appearance after folding, as shown in the images below.
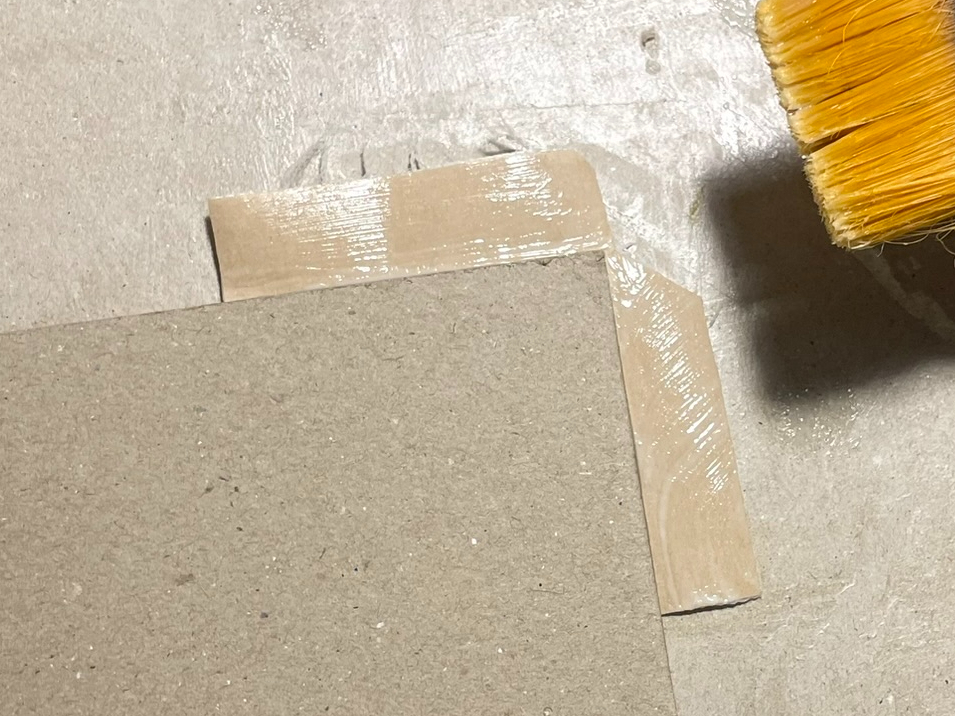
- Apply glue to all the extended fabric edges. Use a bone folder to fold the fabric over the edges of the chipboard. Press firmly and smooth out any wrinkles to ensure the fabric stays in place.
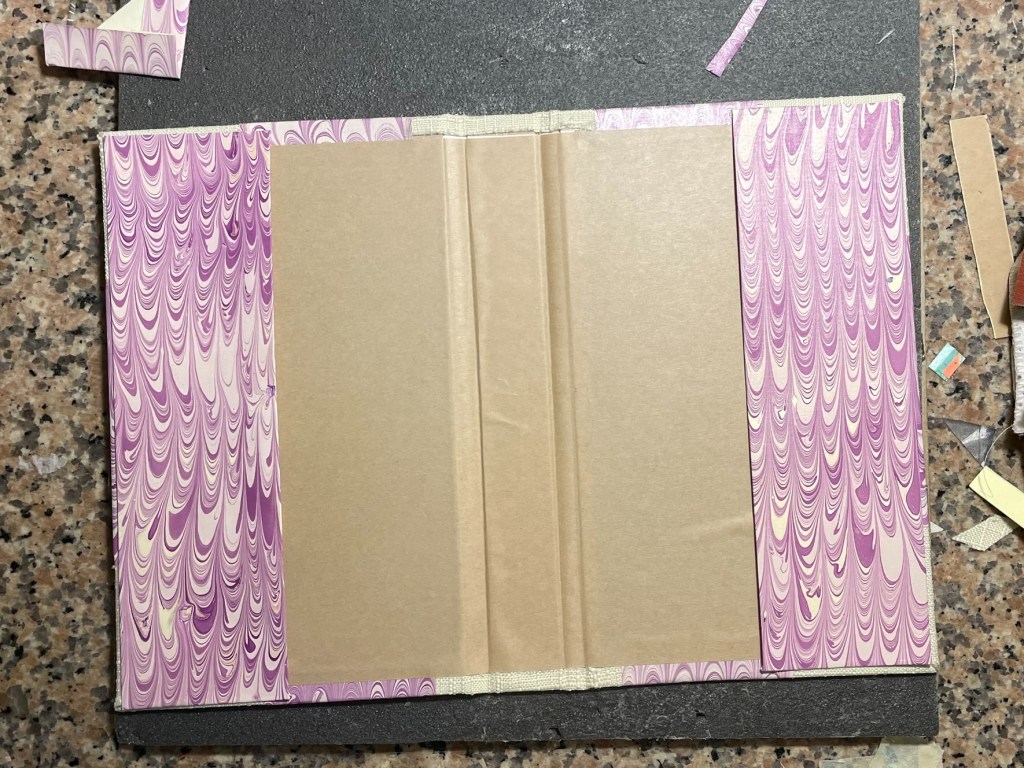
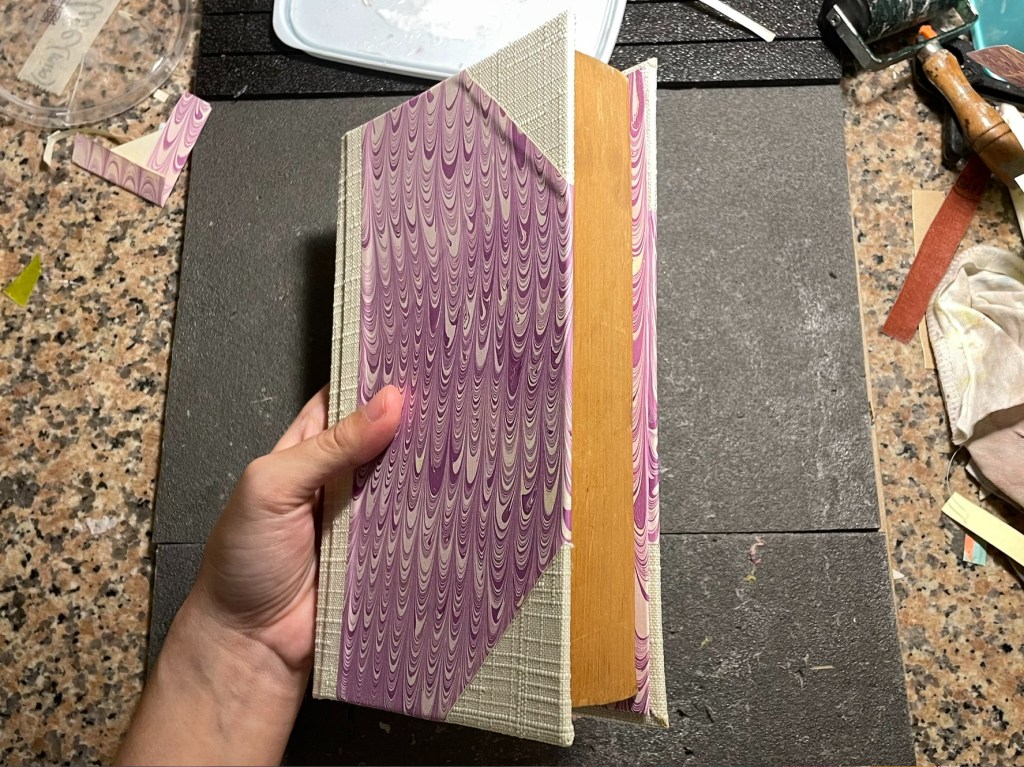
Four: Add the Marbled Paper
See Steps …
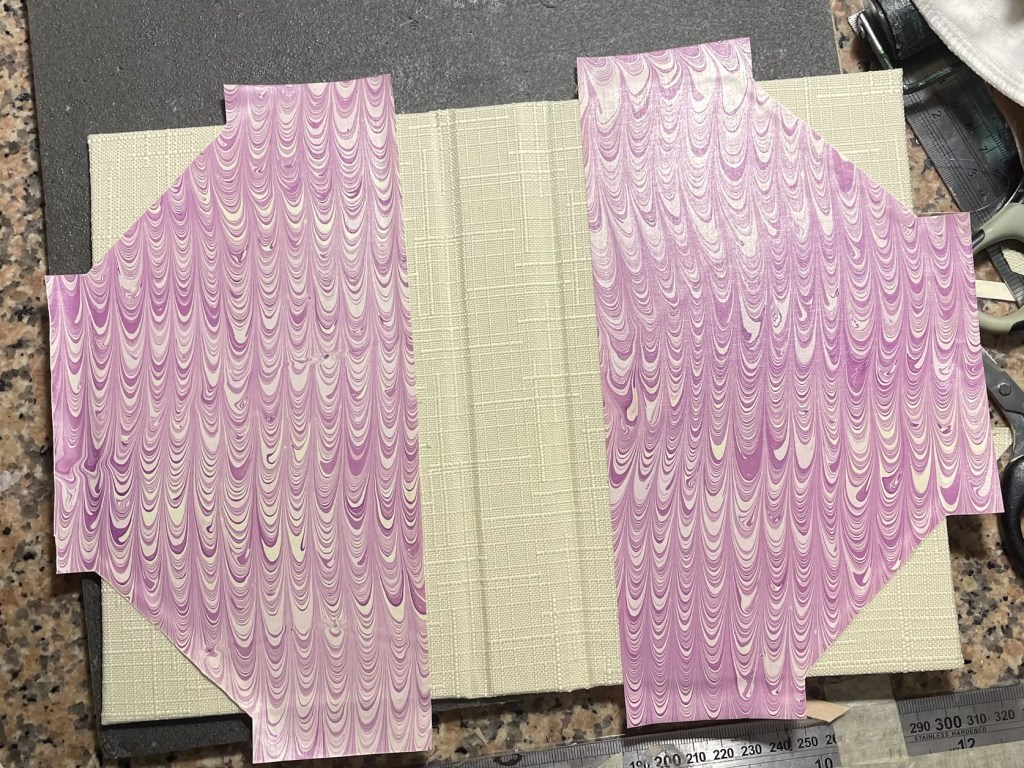
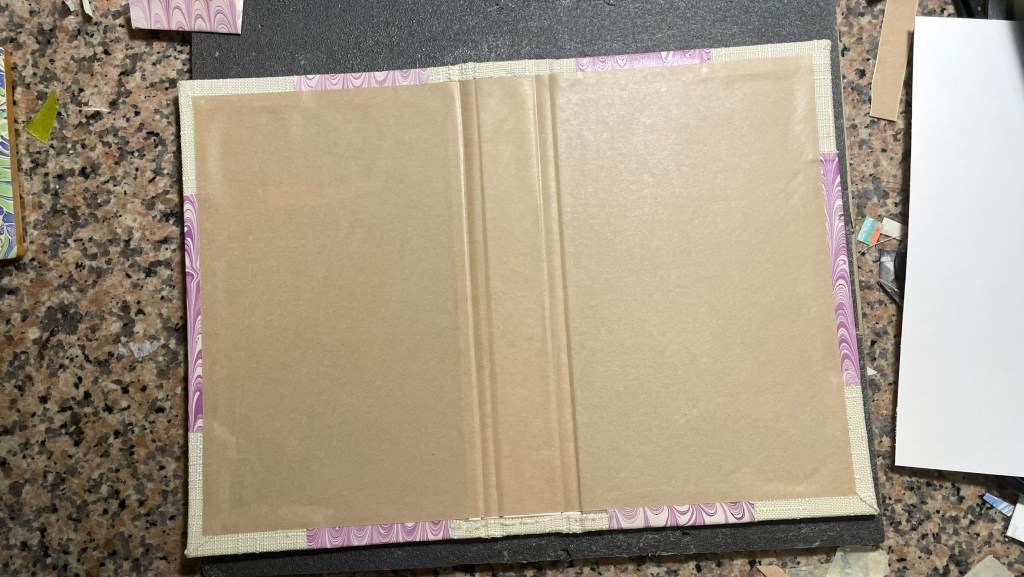
- Cut two pieces of decorative paper (I used my hand-marbled paper) that are 1,5cm larger than the cover chipboard on each width side and about 0,25cm larger on each length side.
- Place these 2 pieces onto the centre of each cover chipboard and then move them outward about 1 cm from the length edge and temporarily secure them with paper tape. This is where the decorative paper will be glued later.
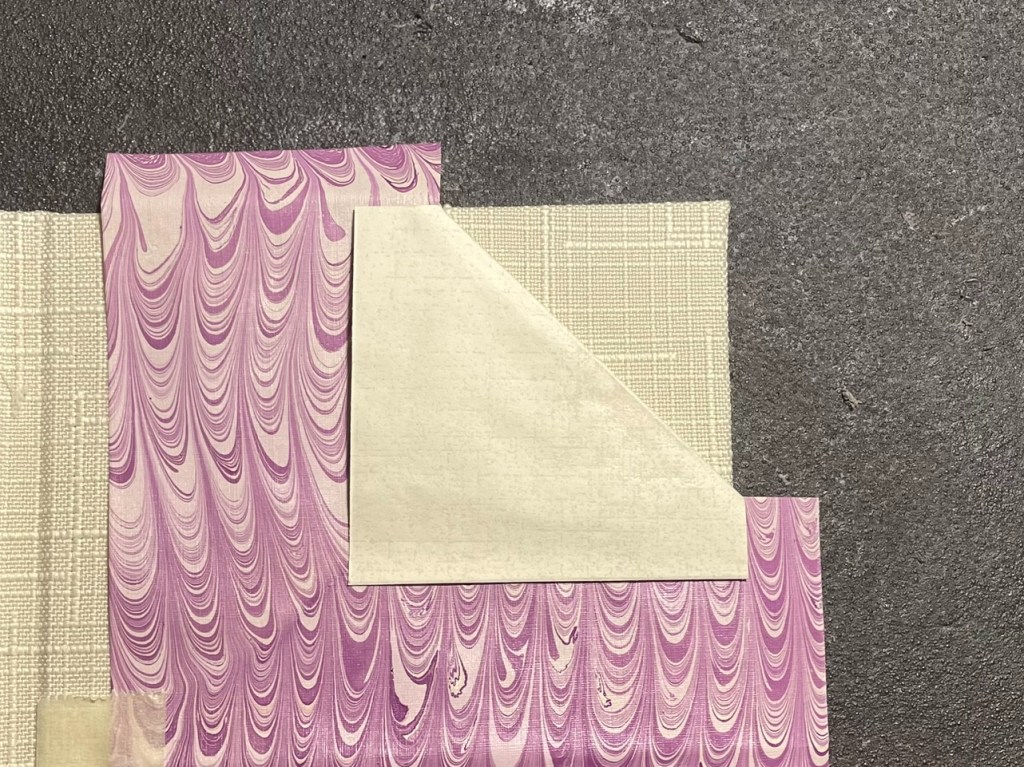
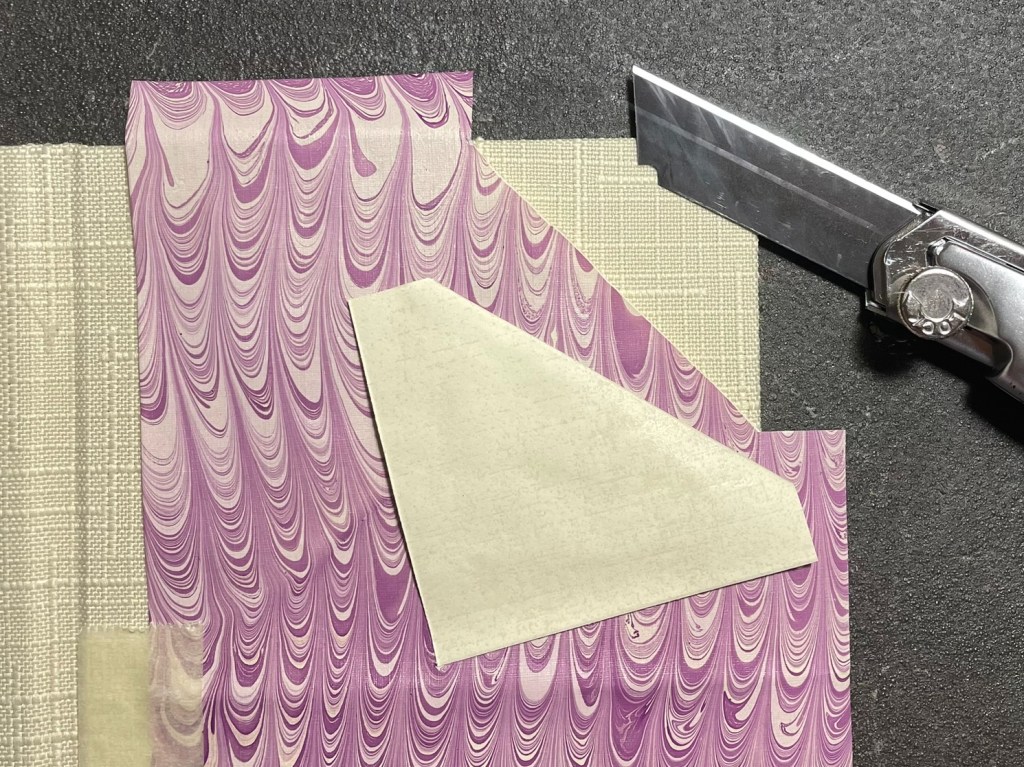
- Flip everything to see the inner side. Using scissors, cut short lines into the decorative paper as shown in the images below.
- Flip everything back, fold and use the craft knife to cut out neatly the triangle-like shapes of the outer top and bottom of the decorative paper as detailed in the images below.


See Continuing Steps …
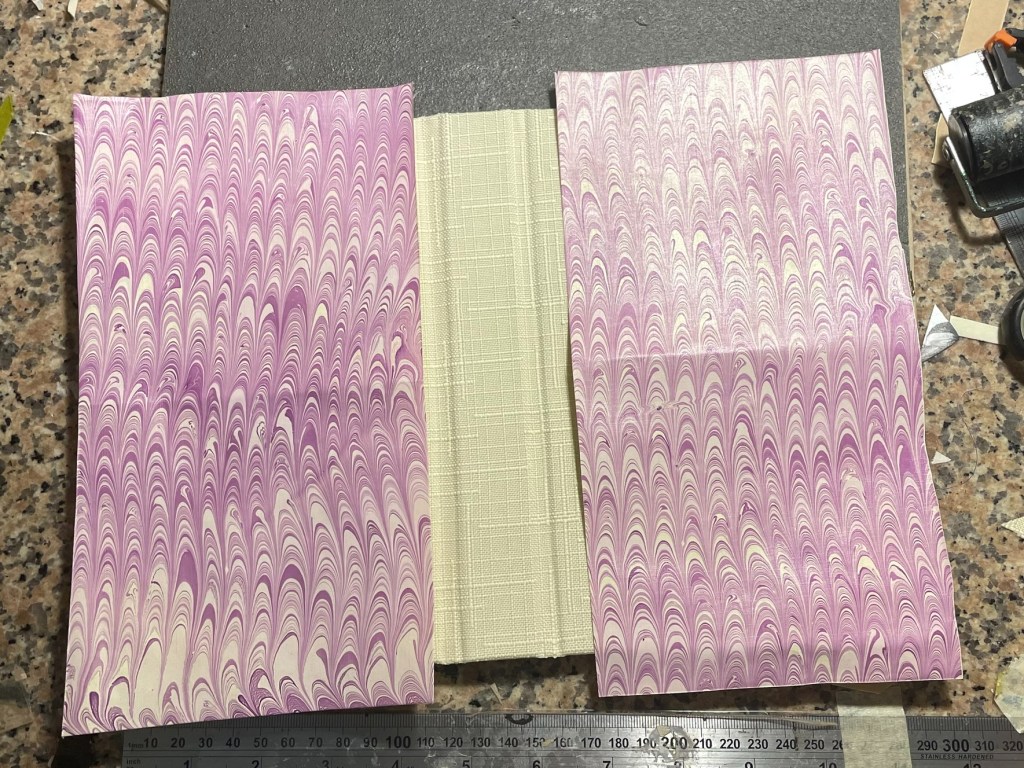
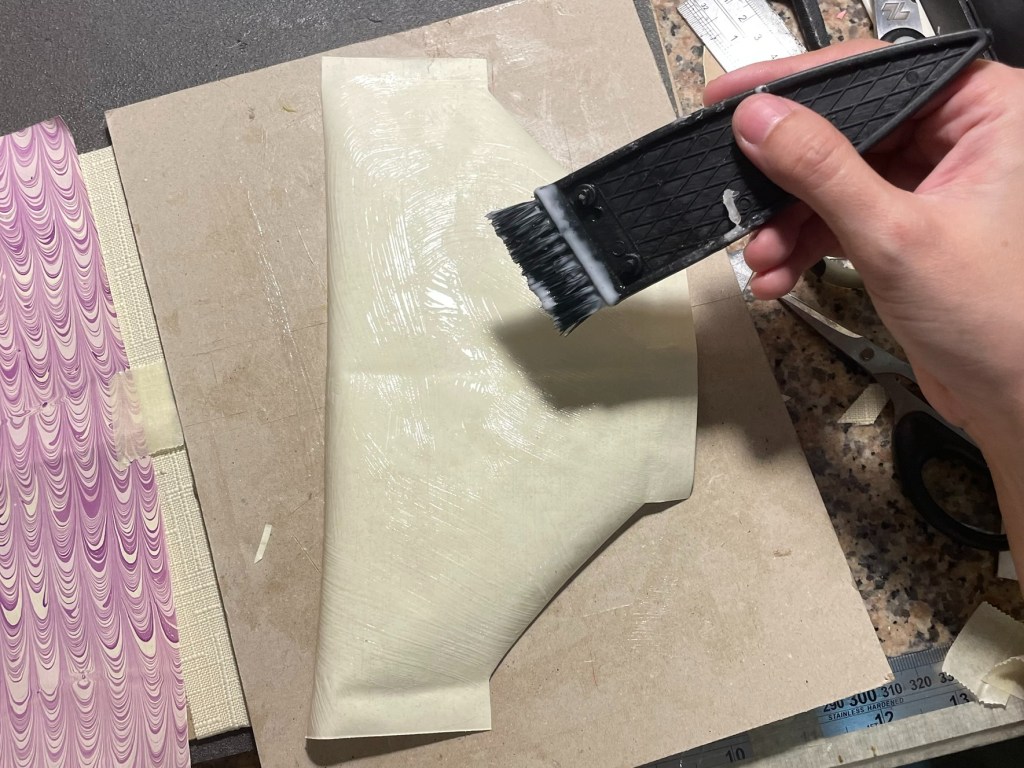
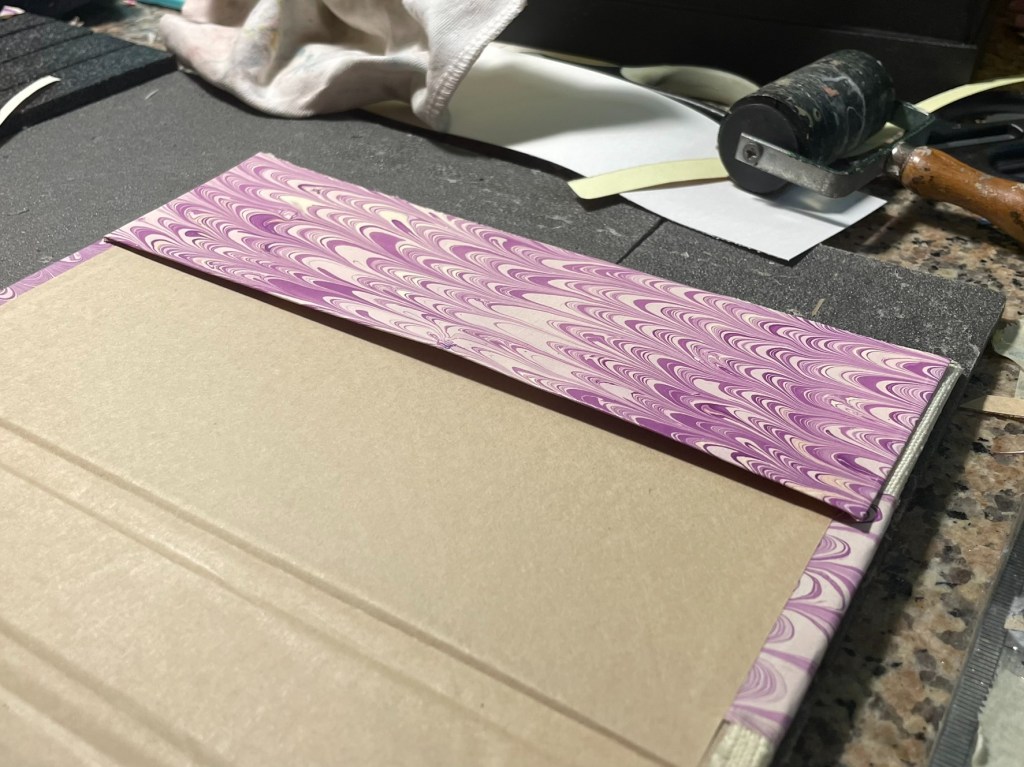
- To continue, remove the temporary paper tape and start applying glue to the back of 2 pieces of decorative paper and place them onto the cover chipboards in the same position according to the last steps, press firmly and smooth out any wrinkles.
- Apply glue on every extended paper, use the bone folder to fold them over the edge of the chipboard, press firmly and again smooth out any wrinkles.
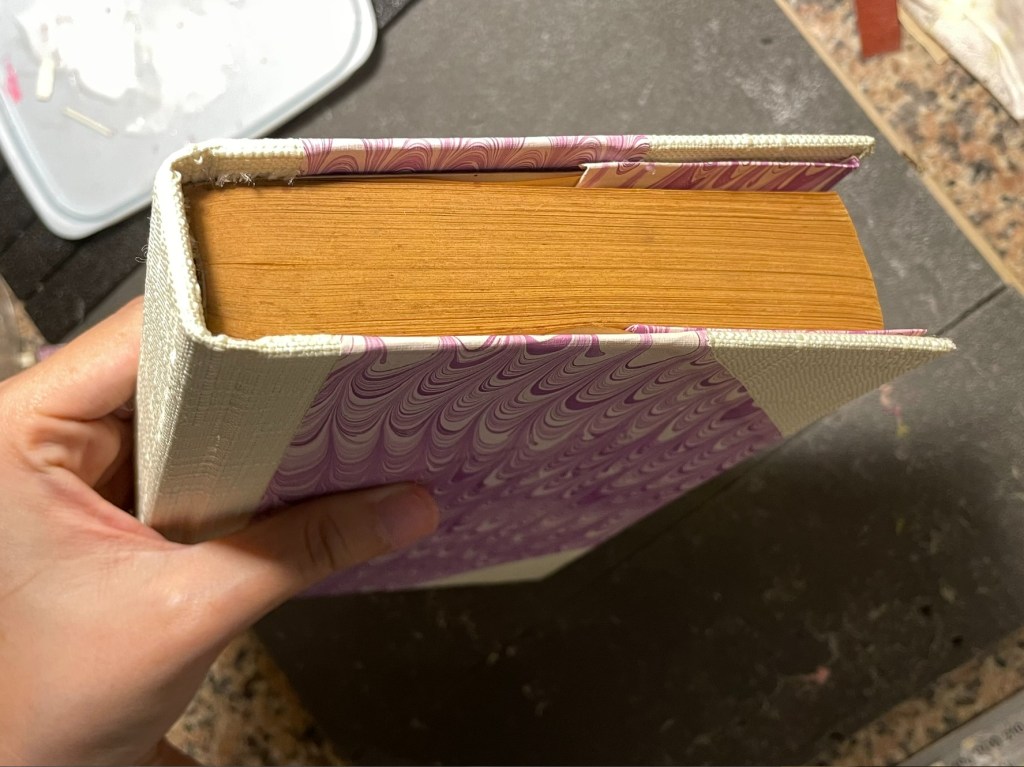
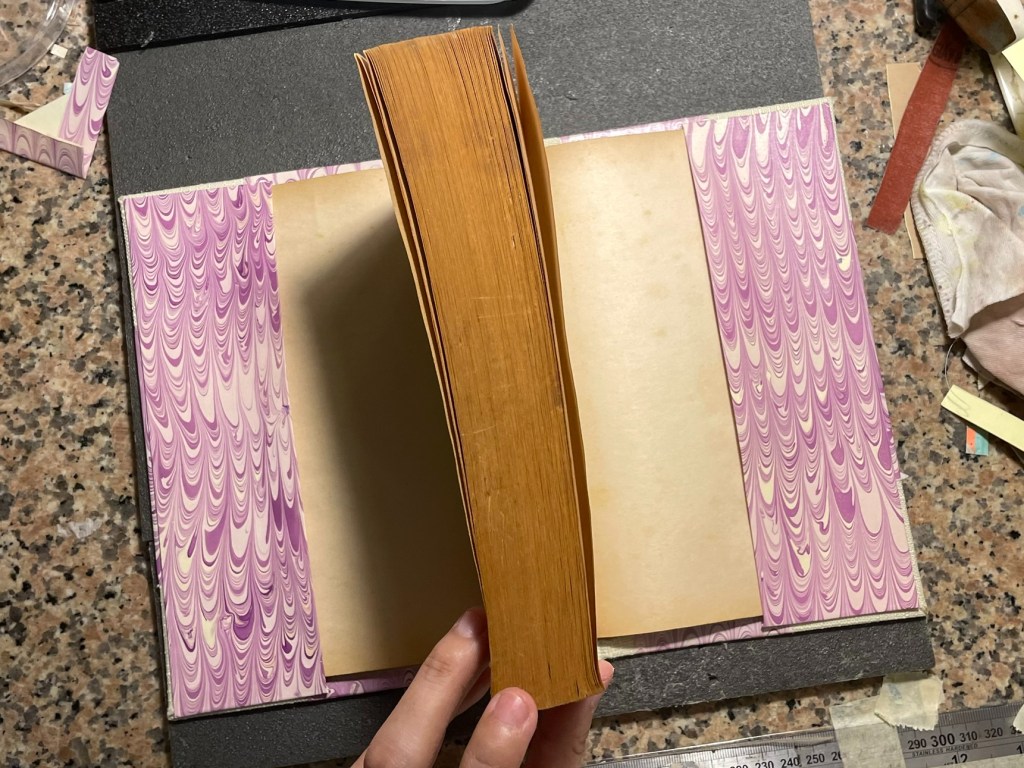
Five: Create the slip-on sleeve
See Steps …
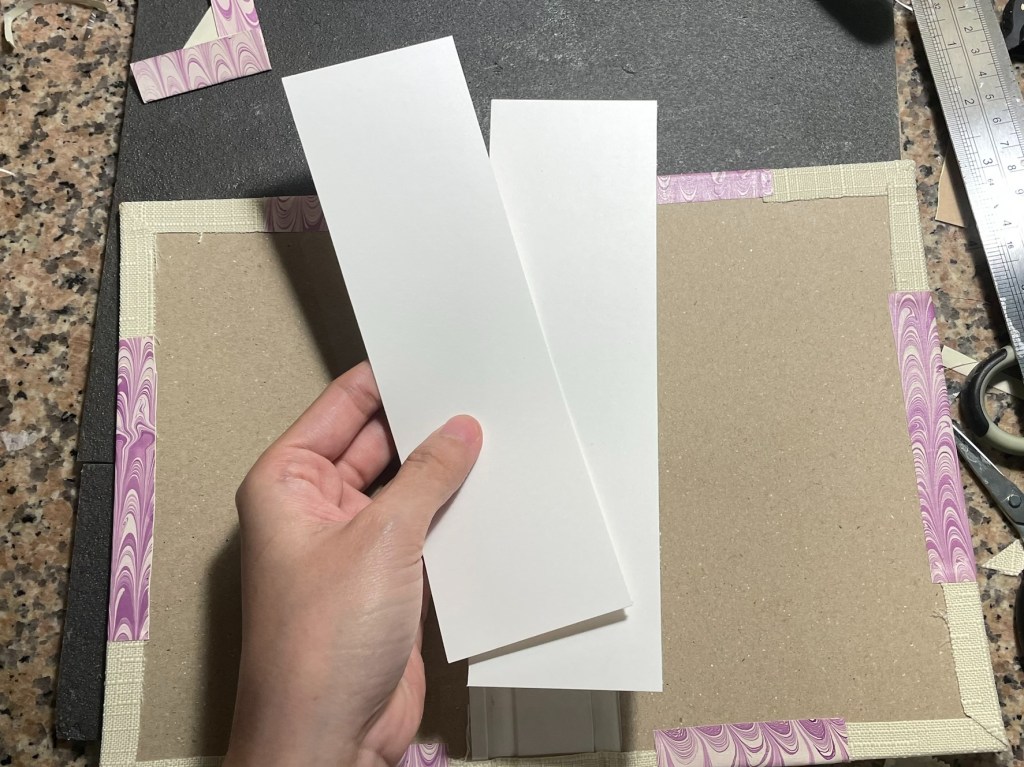
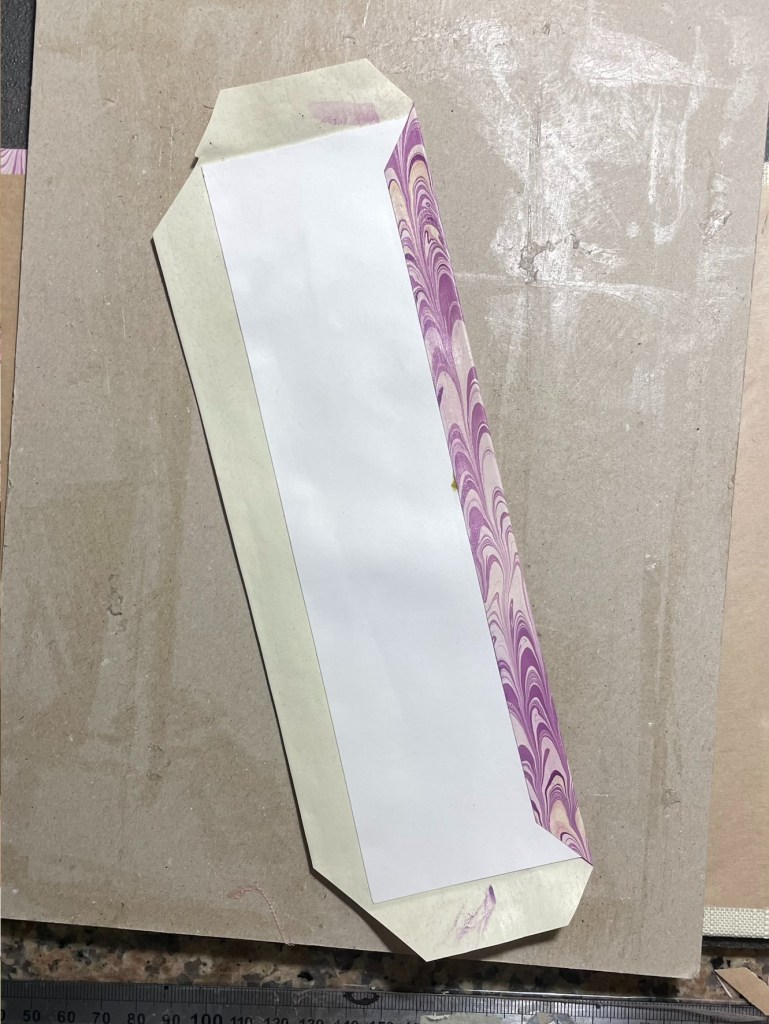
- Cut two pieces of cardstock, each 0.5 cm smaller than the cover chipboard in length and half the width of the cover chipboard.
- Cut two pieces of decorative paper, each 1.5 cm larger than the corresponding cardstock pieces on each side
- Glue the cardstock pieces onto the centre of the back of the decorative papers.
- Cut a piece of adhesive kraft paper that is 0,5cm smaller than the total size of the book cover. Adhere this piece to the center of the book cover to hide the chipboard.
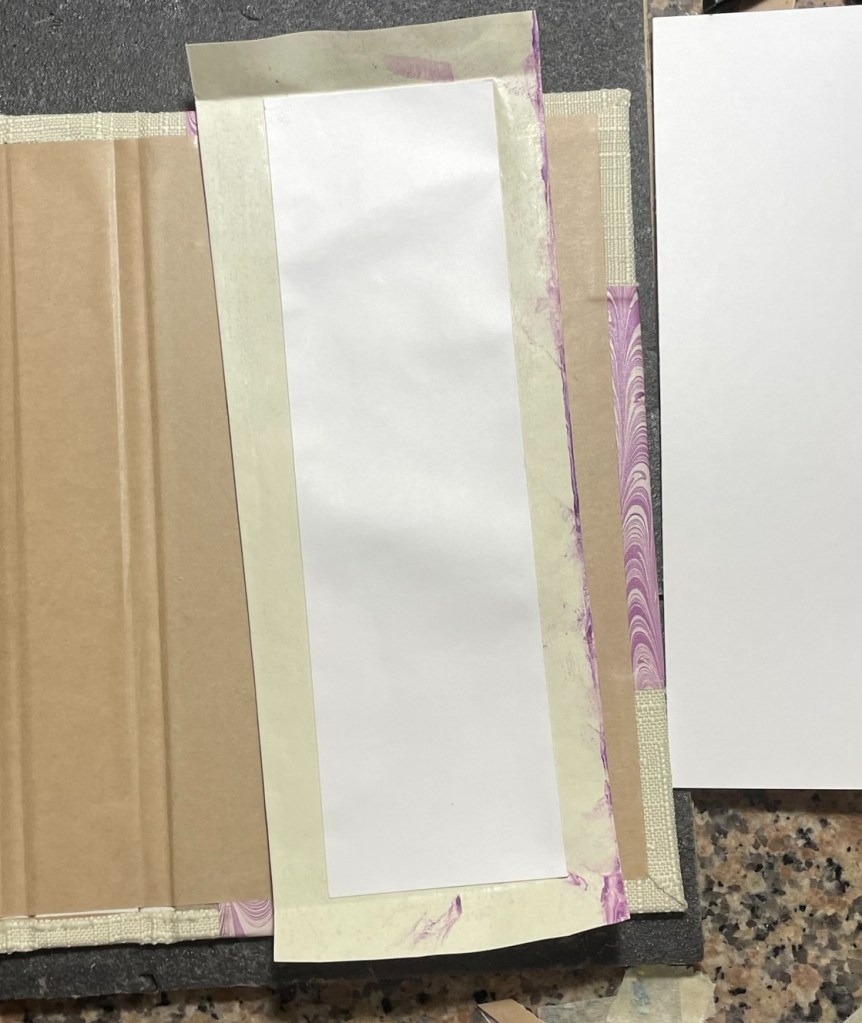
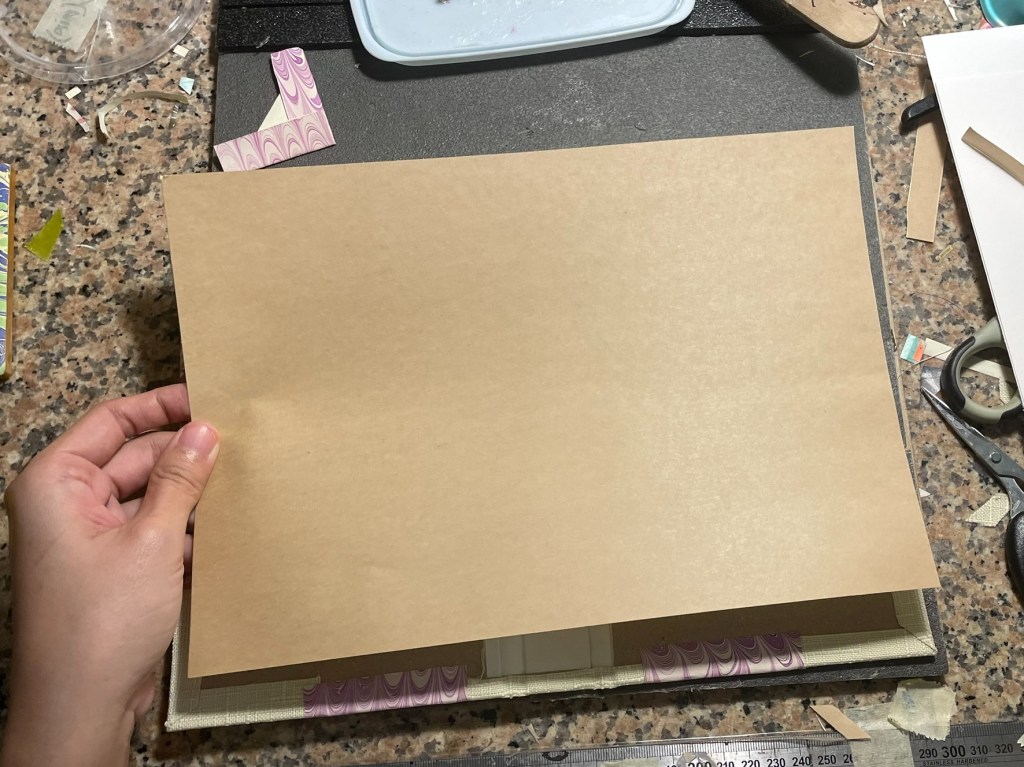
See Continuing Steps …
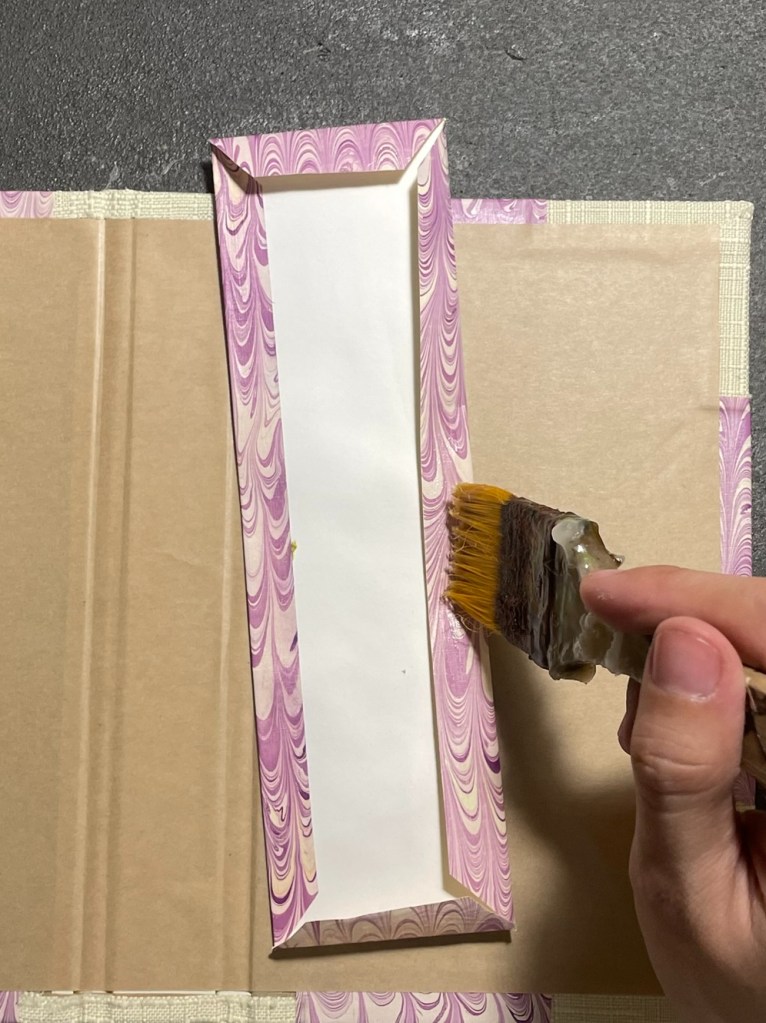
- With the two previously glued pieces, apply glue to the back of one long side of the decorative paper and fold it over onto the cardstock.
- Without glue yet, fold every extended paper onto the cardstock and then apply glue onto the front of the decorative paper. Flip and place the two pieces onto the outer long side of the nearly finished book cover.

Final: Use something heavy to press on, wait for everything to dry and it’s completed!


Tips and Tricks:
- Choosing Materials: Select natural fabric to make the gluing process easier. Choose colour and textures that complement the design of your decorative paper.
- Precision: Use a ruler and a sharp craft knife for accurate cuts and clean edges.
- Avoiding Wrinkles: Use two types of glue: one is pure PVA for quick adhere (extended paper and fabric) and one PVA diluted with water for more time on hand adjusting any misalign before everything is set.
Conclusion:
With this elegant slip-on book cover, you can now enjoy your reading in public without revealing your book’s title. It’s a classical-styled, practical accessory that adds a personal touch to your reading experience. I hope you enjoy making and using it as much as I do!
Additional Resources:
- Check out my tutorial on hand-marbled paper [Coming Soon].
- Find out where in Vietnam I buy chipboard [here] and fabric for this creation [here].
Feel free to share your creations with me. If you have any questions or suggestions, please send them to quynhnhu25yvt@gmail.com
Questions I have for myself on this:
“What if I want to use this slip-on cover for another book with a different thickness and size?”
Answer: It might not look as nice or function as well if the new book is larger or smaller in thickness and size. If I knew how to sew, a full fabric slip-on cover would be a better option since it could be adjusted to fit books of varying thicknesses.
“Why don’t I just replace the original paperback with a new hardcover?”
Answer: I’ve never tried that before, and I’m afraid of ruining my beautiful vintage book. Maybe I’ll experiment with a cheap, unused book in the future.
“Is this the only way to make a book cover?”
Answer: No, it’s not. This is just my way of doing it. I’m learning and experimenting with information gathered from various artisans and adapting it to my style. There are many more techniques out there that I have yet to explore. This blog post is an art and craft diary meant to inspire anyone who reads it.
“Did I forget to mention any step?”
Answer: Possibly. I hope anyone reading this post feels comfortable enough to point out any missing steps.
“Final thoughts on this creation?”
Answer: There are areas for improvement. I aspire to produce a slip-on cover that can discreetly hide the book title for those who prefer to read in public with some privacy, and for those who love a classic, whimsical marbling pattern on their book instead of modern graphics and typography.
Nhu Pham Art – Inspired by Life’s Whimsical Charm
